Making Photograms
As a class we were shown how to make photograms in the darkroom using an enlarger like the one in the image below.
As a class we were shown how to make photograms in the darkroom using an enlarger like the one in the image below.

To create my photograms, I used Ilford 5x7” light sensitive photographic paper with a glossy finish. I began by setting the aperture on the enlarger at the halfway mark and placed a piece of photographic paper on the baseboard shiny side facing upwards. I then placed the objects I had chosen to use on the photographic paper and switched on the enlarger using the timer, exposing the paper to light for six seconds.
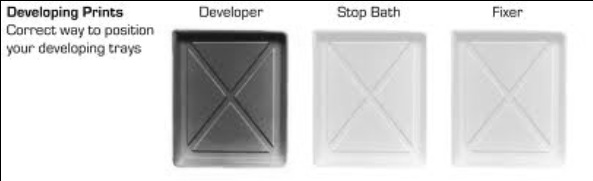
After that I slide the photographic paper into a tray containing a solution of paper developer. The tray was agitated gently in order to cover the paper evenly with the solution. As the tray was agitated, I could see an image appearing on the paper. After four and a half minutes I transferred the developed print to the stop bath using tongs. I agitated the stop bath tray for thirty seconds, and then used another pair of tongs to remove the print from the stop bath. I allowed the stop bath solution to drain from the print, and placed it in a tray containing fixer for five minutes. This tray was also agitated in order to get a good amount of the solution over the surface of the print. I then removed the print from the fixer, and placed in a wash with flowing water for five minutes. I then dried the print using a dryer.
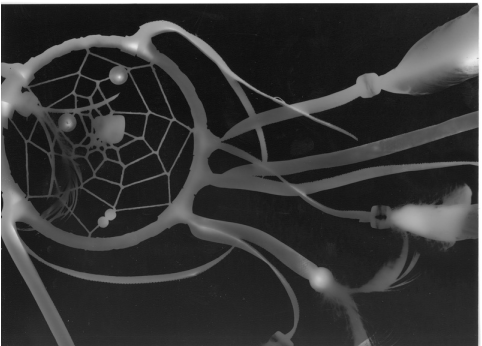
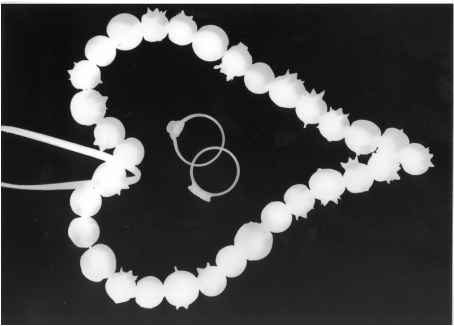
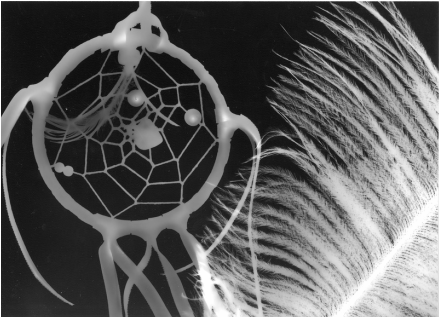
This process was repeated for each photogram I produced, and I was very pleased with the end results. I loved the contrast of light and dark created through this process and the way in which the detail of the objects used was captured. The best part however was seeing the image appear on the paper for the first time.
My Photograms
|
|

|
|
The Chemical Process